

TimePebble Visual Interval Timer Concept
Digital concept · Not physically validated
A proposed offline visual interval timer with a low tabletop body, a clear monochrome display and a side dial. Designed as a starting point for simple shared timing, not a proven focus aid.
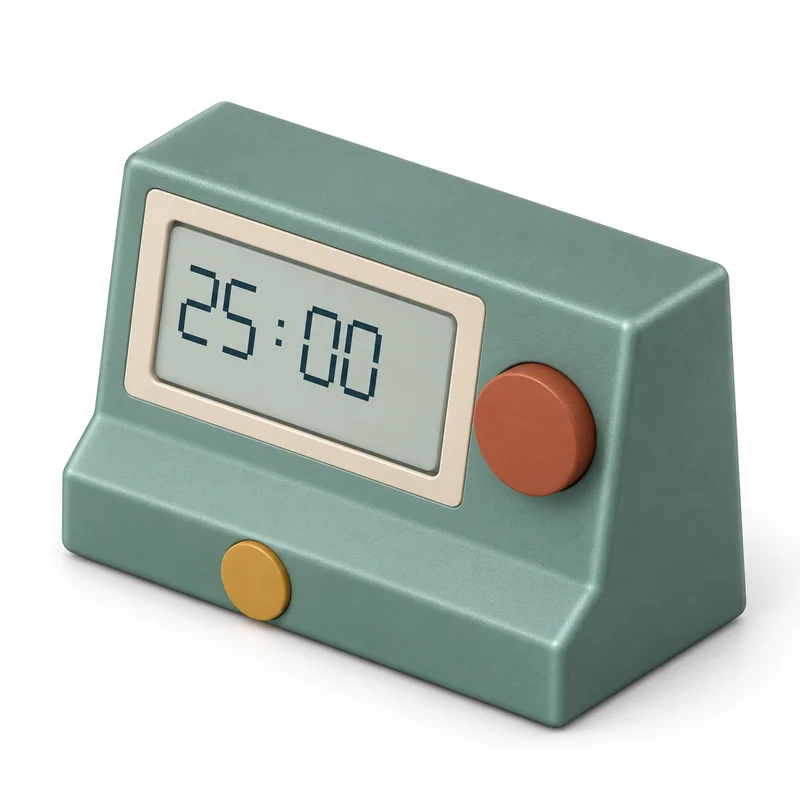
Set, pause and finish one interval
A proposed offline visual interval timer with a low tabletop body, a clear monochrome display and a side dial. Designed as a starting point for simple shared timing, not a proven focus aid.
Set an interval
A side dial would select a proposed time interval without a phone.
Start the countdown
A deliberate press would start the displayed interval.
Pause or continue
A separate pause action would preserve the remaining time.
Finish and reset
An optional alert and a visible end state would support the next activity.
A low timer with a side dial
A low tabletop body separates the monochrome time display from a side-setting dial and start/pause action. Dial force, display visibility, sound cues, battery access and stability are proposed design questions, not tested specifications.
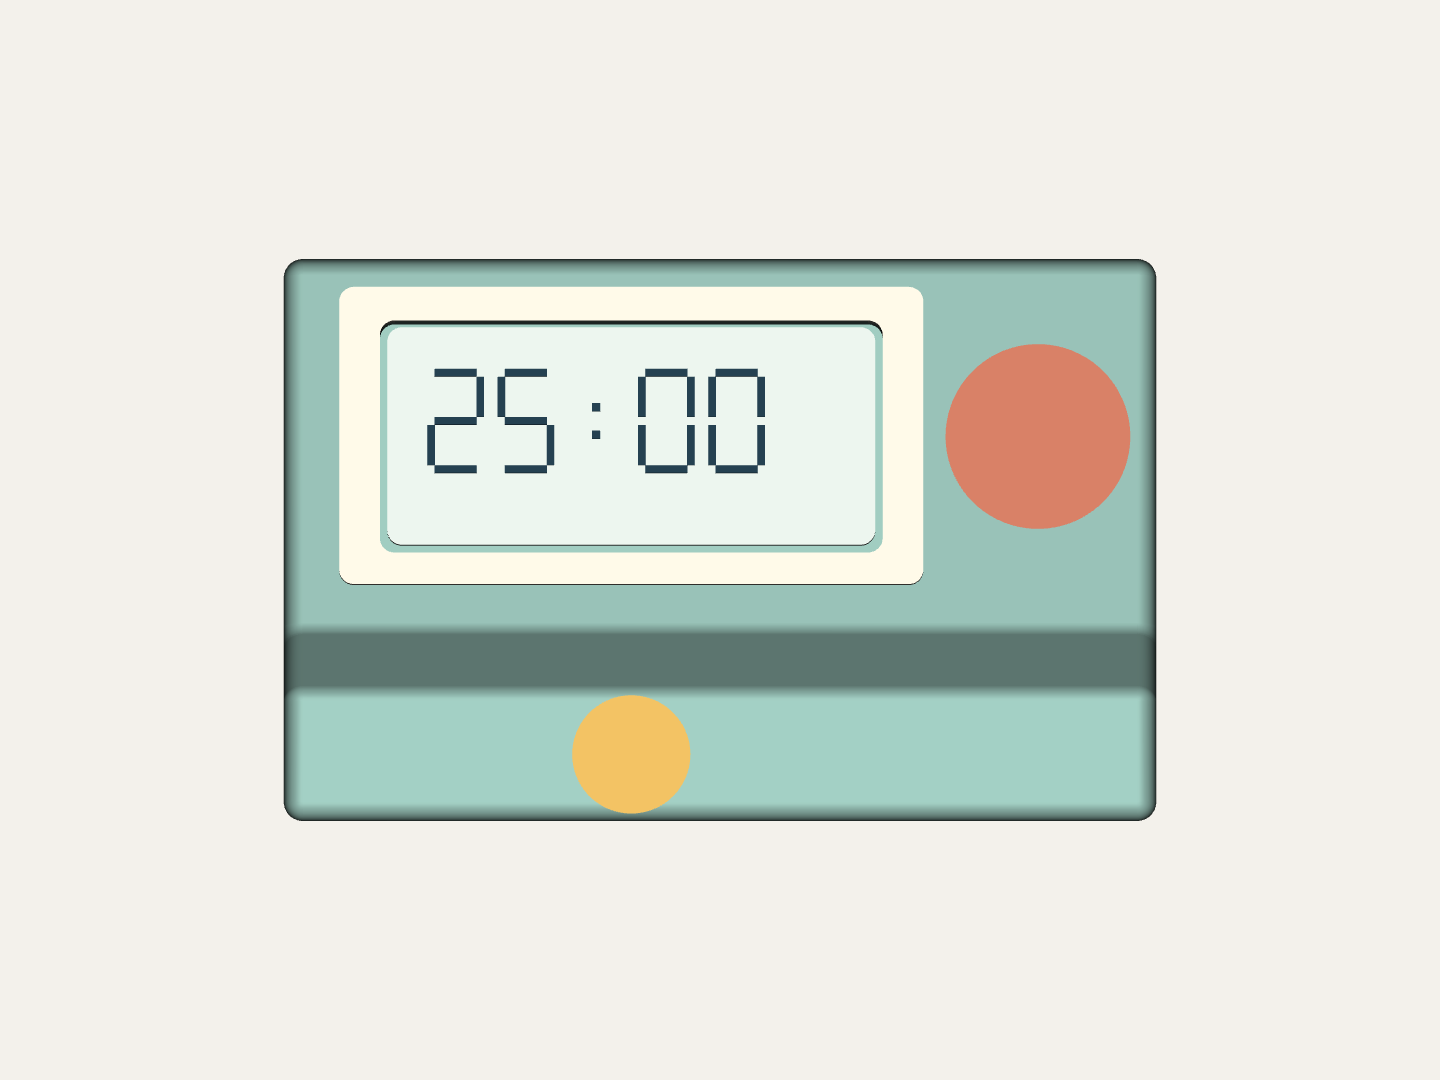
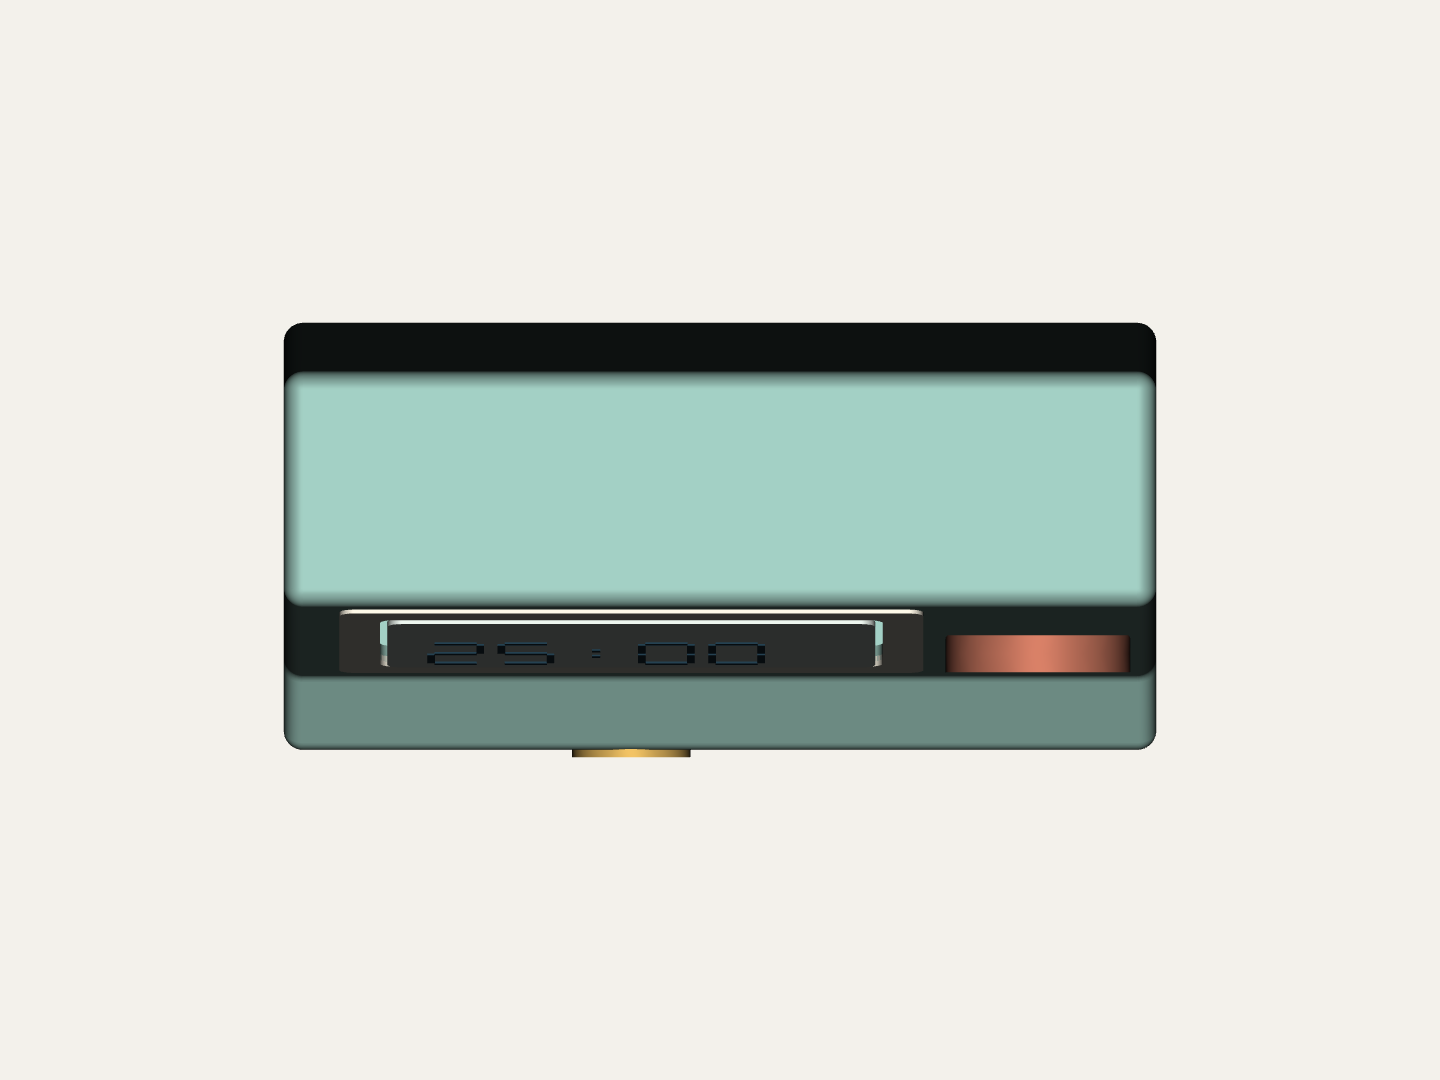
All views are digital concept images, not photographs of a physical prototype.
Proposed design inputs
| Display | Monochrome segmented LCD direction; final glass not selected |
|---|---|
| Controls | Side dial and separate pause action |
| Connection | Offline; no app or wireless proposed |
| Power | Replaceable 2-AA concept arrangement |
| Concept envelope | Approximately 118 W × 76 H × 60 D mm |
| Accuracy and runtime | Not measured; no production specification established |
A starting point for your product brief
Choose this direction as a reference, then define what your customers need. These are possible development discussions, not confirmed ready-made options.
Share your requirementsFrom an idea to a development decision
Agree the brief
Define the audience, sales market, intended experience, original content, changes and commercial constraints.
Check the experience
Use simple mock-ups and a full-size form model to assess the proposed task before committing to tooling or custom electronics.
Evaluate feasibility
Review real components or mechanisms, power where applicable, usability, structure and market-specific safety requirements.
Decide whether to develop
Agree scope, ownership, budget, prototype stages and validation responsibilities. Tooling and production assessment would be later decisions.
Questions about this concept
Is this an existing physical product?
No. This is an original digital concept for review. No physical prototype, mould tooling, custom PCB or physical validation has been completed.
Are the proposed functions and dimensions verified?
No. They are design starting points for a development brief. Real components, usability, materials, safety and performance need evaluation.
Can this be adapted for our project?
Audience, appearance, interaction and applicable content can be discussed. Feasibility, ownership, scope, cost and validation responsibilities need agreement before development.
Would this direction fit your product range?
Share your target market, intended users and changes. Begin with a concept review and a development brief.